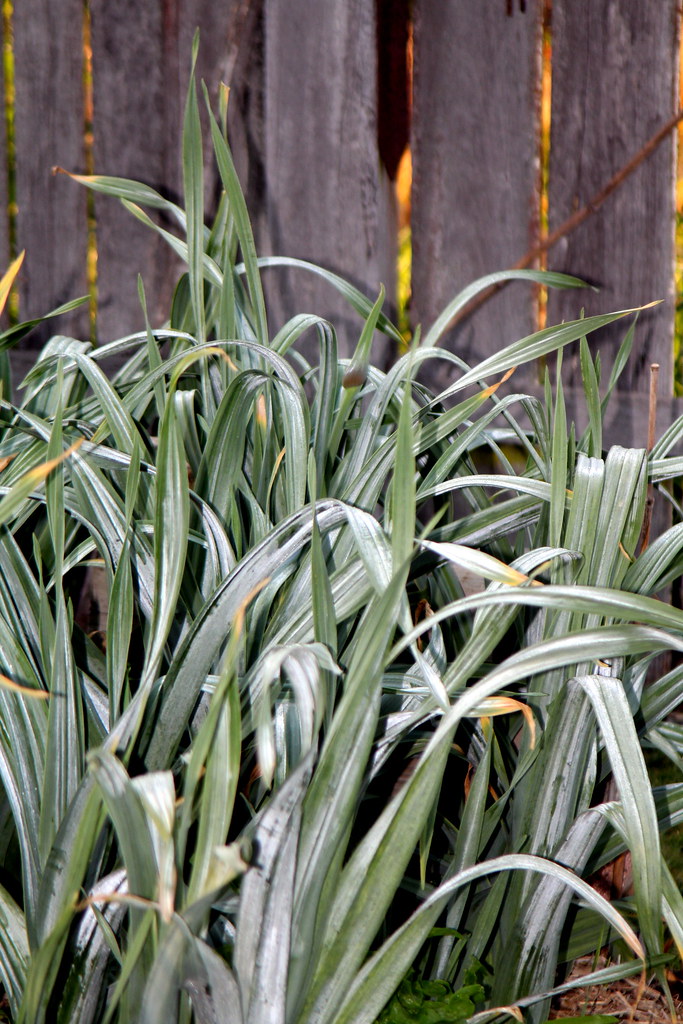
Two days ago I harvested our Garlic from the bottom yard and every piece is beautiful and there are zero onions (so far). There are still around twenty plants left in the ground that haven't flowered as yet so I'm giving these a little bit more time in the ground to see if they do end up flowering at some stage before I harvest those too.
Today we are plaiting the garlic to make it beautiful for hanging and for gifts. I use stacks of garlic everyday in our food and if I were to purchase that amount I use then there would be no money left for other things. So its a super idea to grow it each year and keep the family healthy and happy and keep the nasty vampires at bay.
I have a link to a blog by Penny Woodward listed here where you can get all of the instructions for Garlic Plaiting.
PLAITING GARLIC
So, it was a good idea I consulted the instructions before I plaited. I could not plait the Garlics yet. "Oh No" I said, "They're not limp enough". So I have to wait a fortnight at least until their stems are limper and able to be plaited and held and manipulated. If I was to begin this today there would just be broken stalks. I was disappointed but now I am just eager to try this and I will be patient. They will be wonderful I am sure.
HARVESTING HINTS
When the Garlic is ready for harvest its a great idea to not leave it in the ground if there is a lot of wet weather around. This splits the cloves and makes for not nice looking garlic. It is only the perfect image that are damaged. A split clove is just that, a split clove. It will still taste awesome. As the year draws on and I don't have as much left I pull my cloves apart and put in a basket in the kitchen cupboard where its easy to retrieve each piece. Any Garlic is so good for you, any varieties. It tastes fabulous.
Images @ Eminpee Fotography
Showing posts with label Gardening. Show all posts
Friday, November 17, 2017
Friday, September 18, 2015
Freezing Broccoli
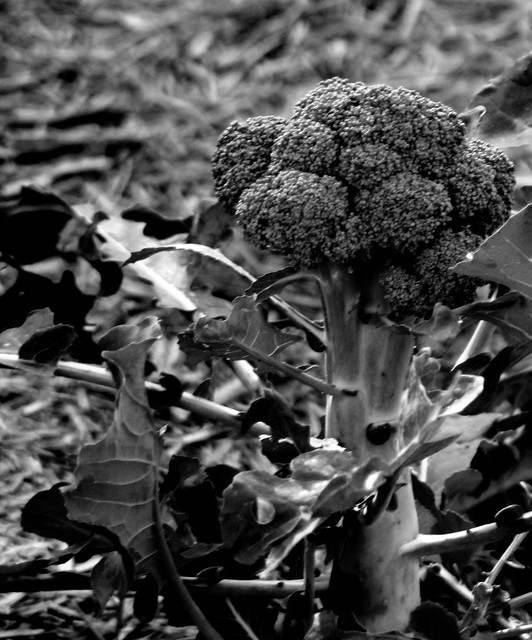
Since moving up to colder country, I have grown a reasonable crop of Broccoli. There is only two of us to eat all of this and so to ensure we can eat all of this at its peak, I decided to freeze some.
First step is to be organized and have everything ready before you cut the broccoli stems. This way there is absolutely no time for decomposition before freezing.
Being organized means having a large pot of boiling water fully boiling and another large pot with very cold water and ice cubes in ready, after adding ice cubes to this water place it back in the fridge to achieve maximum coldness.
Put the trimmed broccoli into the boiling water for exactly 3 minutes. Watch the clock closely down to the seconds, its important to do this properly.
When the 3 minutes are up take out of the boiling water and plunge into the cold water and leave in the cold water for a further 3 minutes. Its good if you have a good steamer basket they can sit in and just be lifted out quickly with out a fuss.
Dry the broccoli with a nice clean tea towel and lay in a tray to initiate the freezing process when nice and hard place in a freezer back and tie up. Doing this avoids the wet broccoli sticking together in one lump.
This is good in the freezer for a year. I am sure we will have eaten all of ours well before a year is up. Happy Broccoli freezing.
Images @ Eminpee Fotography
Friday, May 08, 2015
My Blueberries
At last they are in.
Growing my blueberries ... I have wanted to do this for so long and now I have finally put some in. I have to look after them and say hello often because they are social plants and dislike being lonely.
Blueberries like the azalea, are members of the Ericaceae family. They like a sandy acid soil and they grow into nice sized bushes.
Source: How to grow blueberries
Images @ Eminpee Fotography

Growing my blueberries ... I have wanted to do this for so long and now I have finally put some in. I have to look after them and say hello often because they are social plants and dislike being lonely.
Blueberries like the azalea, are members of the Ericaceae family. They like a sandy acid soil and they grow into nice sized bushes.
Source: How to grow blueberries
Pruning and harvesting
Blueberries begin cropping at two years. Once the bush is four to eight years old it will produce 2–7kg of fruit.Pruning helps productivity and, while the aim is to create a vase-shaped bush with an open centre, blueberries also make great hedges. Remove any weak, dead or crossed branches at any time of the year. Tip-prune shoots back by one-third during early spring, and remove unproductive shoots close to the base that are two or more years old. This encourages suckering and the formation of more shoots. Individual fruit will most likely ripen at different stages from December to mid-January, although some varieties can crop as late as March. Fruit starts hard and green, softening as it ripens, attaining its distinctive blue-black colour with a coating of white bloom.Once fruits are fully darkened, taste a few before harvesting. Blueberries do not get any sweeter after picking so it would be a shame to pick them too early. Full sweetness takes a week or so beyond full colour to develop and timing varies between cultivars. Pick the fruit by hand, but be sure not to rub off any of next year’s berries that are already forming on the branches
Images @ Eminpee Fotography
Labels:
Blueberries,
Fruit,
Gardening
URUNGA NSW
Emmaville NSW 2371, Australia
Tuesday, March 24, 2015
Keyhole Gardens
Why are they so effective?
The answer is to be found in the environment that is created within the keyhole.
Where my future gardens will be is a hot place in summer and very cold in winter so I think that keyhole will create an environment in the soil that will create its own humidity and if its covered it may just be the Key ... pardon the pun.
A great blog to be found here to read regarding setting it up and the history of keyhole.
Images @ Eminpee Fotography
The answer is to be found in the environment that is created within the keyhole.
Where my future gardens will be is a hot place in summer and very cold in winter so I think that keyhole will create an environment in the soil that will create its own humidity and if its covered it may just be the Key ... pardon the pun.
A great blog to be found here to read regarding setting it up and the history of keyhole.
Images @ Eminpee Fotography
Labels:
Composting,
Gardening,
Keyhole
URUNGA NSW
Urunga NSW 2455, Australia
Subscribe to:
Posts (Atom)