Showing posts with label Hints. Show all posts

Tuesday, November 29, 2016

Playing Grapes

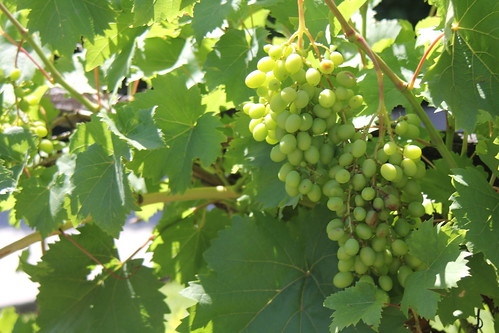
IMG 5802 Grapes

 The "Mother Plant" in Urunga in 2013

I took a cutting from a Grape Vine that grew in the lane behind the Library in Urunga NSW where we used to live.  I did this about four years ago.  It stayed in a pot for 3 years pretty well and then we planted it into the ground last year after we moved to our new home.
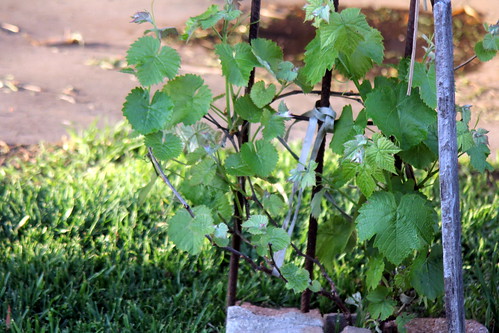
IMG 4749

It seems to  love it where it is and I am building a trellis for it to train on down the side of the car port.   There was so much growth it looked a little odd.  My friend Bruce Derkenne was so helpful when I posted an image of the vine and questioned to do this on social media.  He came straight back with the best information.  So easy really and common sense if I had thought longer about it.
I was keen to keep this conversation where I could refer to it again and to perhaps help others with the same task if they are new to this.
Bruce: Generally you nip all the side shoots off until the vine (terminal bud) is where you want it to go and then let the side shoots (auxiliary buds) sprout for cover and fruit. Each year cut back side shoots after fruiting has finished.

You can have as many terminal buds as you like depending on what area you want to cover or screen xo

Me: you are a god send. Thank you! How will I know which is which... there is a lot going on there?


Bruce: Go back to the start and track them and train them to where you want them to go. Any excess shoots just cut off from the point at which they shoot.

You can be pretty hard on grape vines so don't worry too much about pruning here or there. You do, you learn.

Me: Okkie dokie ... going to have a look now!
You are gold.

They be those ones at the front for example , am I correct?

There are side ones but those front ones are just going straight ahead not sideways.. is that what you mean Bruce, to take those off?
IMG 0428 Grape Vine

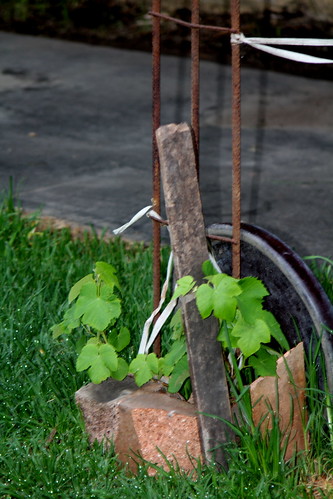
When we first planted it into the ground last year at Deepwater NSW.  Planted with lots of love and hope.  It seems to have responded wonderfully, its flowering now and making tiny grapes.

Images @ Eminpee Fotography

Saturday, April 18, 2015

Magnesium Sulphate in a hydrated form for the Garden

IMG 6012

Epsom Salts is magic stuff and it has many uses in the bathroom and laundry and for sore muscles and joints, but what about the 'Garden'?  Yes!  Epsom Salts is perfect for those annoying garden problems too.  Epsom Salts is just hydrated Magnesium Sulphate.  It isn't a nasty chemical or poison but of course it can be if used in the wrong manner.  Magnesium is one of the most important minerals of the 12 minerals.   Do a PH test on the garden's soil to see what is lacking before dumping with anything.

Recently I have aquired about thirty rose bushes and I  will be using Epsom Salts to bring some life to the tired look they are all sporting at the moment.

Nutrient absorption
Add Epsom salt to soil to improve the absorption capability of the soil.

Seed germination
Mix 1 or 2 tablespoons into the soil at the bottom of each of the holes before sewing the seeds.

Eradicating Weeds
Mix up 2 cups of Epsom salt with four litres of vinegar then add approx four tablespoons of dish dishwasher and shake well in a spray bottle 

Yellowed leaves
Yellowing is often caused by a magnesium deficiency.   Magnesium is essential for the production of chlorophyll (the green stuff).  Spread 1 tablespoon of Epsom salts around the soil basically once a month.   Mix one tablespoon of salt into three litres of water and spray directly on leaves.

Curling up leaves

Curling can be from a lack of magnesium.  Mix up and spray with the above mix of Epsom salt and water.

Tomatoes

During the growing season, tomatoes can become deficient in magnesium.  Applying Epsom Salts will promote a much healthier plant with a greater yeild.  Add about 1 tablespoon of Epsom Salt granules in each hole before planting any seed or when  transplanting seedlings.
Every couple of weeks top up with a mix of one tablespoon of Epsom Salt into 3 litres of water.  Bottle and spray the plants.

Peppers and chillies

IMG 6013The pepper family (chillies capsicums etc)  are well known to become  deficient in magnesium as well like tomatoes.   Do the same Epsom salt treatment as used for the tomatoes.

Roses
When planting a rose bush first soak the roots in a mix of half a cup Epsom salts to three litres of water.
Sprinkle Epsom salt in the hole prior to planting. Every four weeks during the  growth period, sprinkle 1 tablespoon of Epsom salt per 1 foot of plant height.  Place this all around the base of the rose.

Full Article located here :

Images @ Eminpee Fotography

Friday, May 03, 2013

How to Shoot Dawn Shots made simple.

Urunga at Dawn is something heavenly.

IMG 4786 Smash of Dawn Colours  
Ten helpful tips by a super photographer Heather Angel on shooting dawn shots.
1. Check time of sunrise or sunset and aim to get on site well beforehand so you have time to select the best camera angle and lens. Remember to pack a flashlight – particularly in the morning.
 2. Use the brief time when the sky is lit indirectly by a magical alpenglow, before the sun rises or just after it sets, as clouds and snow-capped mountains are painted with a rosy glow that may also be reflected in water.
3. To increase the depth of field of a static subject and to soften moving water, use a long exposure with the camera on a tripod.
4. If including active wildlife in the shot, either go for a slow shutter speed to gain creative blur, or push up the ISO.
5. To balance out the exposure between a bright sky above and a darker scene below either use a grad neutral density filter or bracket the exposures and combine using HDR.
6. Use people to provide scale alongside tall buildings or on bridges.

7. Reduce risk of camera movement spoiling a shot
  • use a remote release or a self-timer
  • lock up the mirror
  • add extra weight to the tripod center column
8. If there is not enough light on a foreground subject, paint with a continuous LED light.
9. Look for shapely silhouettes to set off against a colorful sky.
10. Use a long lens to find a picture within a picture.
by Heather Angel PIXIQ
 Images @ Melonpopzdropz  Flickr